Slope mowing: Experts from AS-Motor provide tips on different mowers
Mowing on slopes is demanding – depending on the machine, procedures vary in ways you should be aware of.
Hand-guided, in ride-on operation, or remote-controlled: What is the best way to work a slope? What features should a ride-on mower have for use on steep terrain? And why should the range of a remote-controlled mower not be fully utilised even on known areas? The experts at AS-Motor Germany GmbH & Co KG have put together a few practical tips that not only make work easier, but also ensure greater safety while mowing slopes.
Hand-guided mowers
After a certain incline, hand-guided devices should always work transverse to the slope. This is less strenuous for the operator than it is to guide the mower up and downhill. Turns should be executed uphill as the device can accelerate when facing downhill; in extreme cases the mower can even swing around. The user should not walk directly in the track of the mower; rather, the steeper the slope, the more the operator should support himself towards the slope by walking a little lower. Pivoting the handlebar slightly downhill – as when working along a fence or a building – significantly improves the ease of operation.
Ride-on mowers
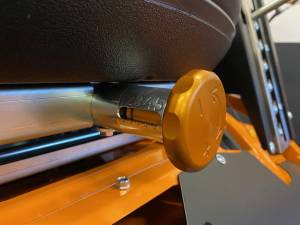
Because the operator is situated on a ride-on mower, it must always be suitable for the slope. A low centre of gravity and special features such as all-wheel drive, differential lock, and/or special tyres ensure that the mower maintains traction even on steep inclines. Information regarding mower stability must always be known. The tipping threshold of a ride-on mower is defined as when steering is turned all the way in one direction; the device cannot overturn unless this stability value is exceeded. But differences exist even among similar models, as illustrated by the AS-Motor Sherpa family: the AS 915 Sherpa 2WD and AS 920 Sherpa 2WD have a stability of 18 degrees transverse to the slope, the AS 940 Sherpa 4WD has a stability of 20 degrees and the XL version and remote-controlled RC model have a stability of 21 degrees in ride-on mode. If the AS 940 Sherpa 4WD RC is operated remotely, stability is 33 degrees.
When terrain is steep, the operator’s sitting position becomes difficult to maintain when working across the slope. This is why ride-on mowers must move uphill and downhill on slopes. Operators should be careful to avoid uneven soil that can unintentionally cause the mower to lean at an extreme angle, particularly when turning.
However, since up and downhill movement in ride-on operation also places physical demands on the operator, it is particularly advantageous to have a ride-on mower that can be switched to remote-control operation in steep terrain.
Remote-controlled mowers
Remote-controlled devices enable mowing both transverse to the slope and up and downhill. Caution should be taken when driving on fresh cuttings which can reduce traction, thus risking mower slippage. When working crosswise to the slope, mowing should be done from top to bottom so that cut grass is deposited above the mower. Furthermore, it is important not to walk below or in front of the mower.
In the case of rotary mowers the right side should also be avoided, as the blades’ clockwise rotation accelerates cuttings and foreign objects to the right and right rear. Thus the safest position for the user is behind the machine on the left side. Remote-controlled mowers’ range should never be fully utilised, even when mowing well-known terrain. Here’s why: Only the operator who walks close to the mower is able to detect foreign objects in good time.
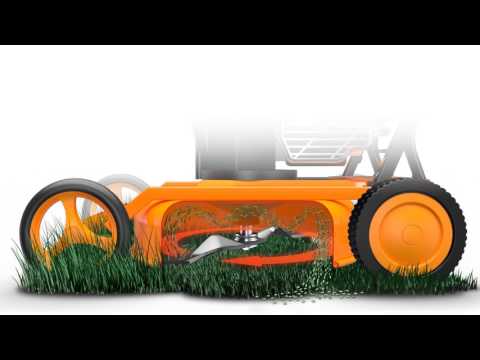
In addition to these tips, the operating manuals for the AS-Motor devices provide useful information. Operating manuals are mandatory reading for safe and proper use of the mower; should the details cited here deviate from the information in the operating manuals, the information in the operating manuals takes priority. This information can be accessed at www.as-motor.com. AS-Motor’s YouTube channel also provides product safety videos on various mowers: https://www.youtube.com/channel/UCLqXsENxtcHxyEQ4zUO147g.


